How to Seal Kitchen Cabinets
Have you ever opened your kitchen cabinets to grab a snack but you feel the cold breeze? If so then you are not alone. Many people feel their cabinets are drafty or have moisture and dust. Sealing your kitchen cabinets is an ideal decision to make especially when want to get rid of moisture as you have no more stamina to bear it now. However, the question that arises here is How to seal kitchen cabinets.
Sealing your kitchen cabinets is a quick yet beneficial task to do. In addition to keeping out drafts and unwelcome bugs, a tightly sealed cabinet is essential. So, whether you are looking to enhance the overall look of your kitchen or just want to make it more organized, sealing your kitchen cabinets is the right thing to do.
So, continue reading this guide until the end; by the end, you will surely learn How to seal kitchen cabinets.
How to seal kitchen cabinets:
Sealing your kitchen cabinets improves the appearance or solidity of your cabinets and increases their longevity. Additionally, By sealing your cabinets, you can establish a barrier of defense that protects your cabinets against heat and moisture and prevents grime and stains.
Sealing your kitchen cabinets requires proper attention But before moving directly towards the steps on How to seal kitchen cabinets choosing the right sealant for kitchen cabinets is crucial. So, let’s first go through the types of sealants available.
What are the Different Types Of Sealants?
Selecting the appropriate sealer for sealing your kitchen cabinets is essential to safeguarding the wood and guaranteeing a strong, enduring finish. Different types of sealants are available and each offers its advantages and features. Among all the sealants the most commonly used are:
-
Polyurethane Sealant:
For sealing your kitchen cabinets polythene stands out as one of the best sealants. It is long-lasting and versatile to use. This long-lasting sealant offers superior defense against moisture, scuffs, and UV radiation making it an ideal choice for kitchen cabinets. It is available in both oil and water formulas.
-
Varnish:
Another sealant that stands out for sealing kitchen cabinets is “Varnish”. It has a classic, organic appearance that draws attention to the wood grain. This organic appearance sealant provides a hard, shiny appearance that highlights the inherent beauty of your wood cabinets. It is available in several formulas like high-gloss, semi-gloss, satin, and matte.
-
Lacquer:
Lacquer is a solvent-based sealant that is a popular choice for advanced and commercial cabinetry. Lacquering your kitchen cabinets offers a smooth and shiny finish to your kitchen cabinets. This solvent-based sealant dries fast to create a tough, long-lasting layer that protects your cabinets from scratches and other wear and tear. Lacquer is easy to remove when looks dull and is no longer needed.
-
Water-Based Sealants:
Water-based sealants which are also known as Acrylic sealers are environmentally friendly and convenient to use. This nature-friendly sealant offers strong protection against moisture and debris without releasing any dominant smell.
-
Oil-Based Sealants:
Oil-based sealant is also one of the common use sealants ideal for wood cabinets. This well-known sealant offers a hand-rubbed, organic finish that brings out the natural beauty of the wood. These oil-based sealants are not as strong as varnish or polythene but provide your cabinets with a warm and smooth finish.
These are some commonly used sealants for your kitchen cabinets. Each type has its unique features But selecting the right option that suits the needs and preferences of your kitchen cabinets is essential. So before making any choice consider the amount of protection you require, the finish you want, and the frequency of cabinet maintenance you’re willing to undertake.
Now after knowing about the different sealants for sealing your kitchen cabinets. Let’s move directly to the step-by-step guide on our highlighted topic of the day “How to seal kitchen cabinets.”

A Steps-by-Step Guide on How to Seal Painted Kitchen Cabinets:
Sealing your painted kitchen cabinets is a great way to protect your cabinet paint’s quality for many years by shielding it from stains, moisture, and normal wear and tear. When sealing your kitchen cabinets there is a proper step-by-step guide that you should follow and understand to achieve the best results. Before starting the process, let’s gather the material and tools required.
|
Step1- Clean your kitchen cabinets:
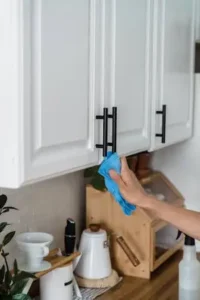
Cleaning your kitchen cabinets is the first crucial step to make while sealing them. Before cleaning First, take everything out of the drawers and cabinets. To get rid of any grease, grime, or dust, use a wet cloth and a gentle detergent to clean the surface.
Additionally, do not use abrasive cleaners for cleaning as they can scratch or harm cabinet finishes. To remove residue and tough stains from cabinet doors and drawer fronts, you can use a vinegar and water mixture. Now before moving further to the next step let your cabinet dry thoroughly.
Step2- Sand the Surfaces:

After cleaning your cabinets lightly sand the surfaces of your kitchen cabinets. It’s important to lightly sand the surface of your cabinets, even if they have just been painted. Sanding ensures a uniform and smooth finish by removing any lingering particles or rough spots from the cabinet surface.
Furthermore, Utilize a circular sander or by hand, sand your cabinets using 120-grit sandpaper. Before moving directly onto edges and corners, sand smooth surfaces first like doors and drawers. To have a smooth and nice finish of sanding, proceed to the next finer grit until you reach the 220-240 grit paper.
Step3- Select the type of sealant:
After sanding the rough surfaces now choose the appropriate type of sealant that suits the needs and preferences of your kitchen cabinets. Among the most popular types of sealants, the most commonly used are polythene, varnish, lacquer, etc (that are discussed in detail above in the article).
Each kind possesses distinct characteristics that keep it suited to particular cabinet finishes and materials. When considering sealant for your kitchen cabinet make sure to consider the resistance level of sealant against humidity, stains, scratches, and UV radiation
Step4- Apply a thin layer of sealant:
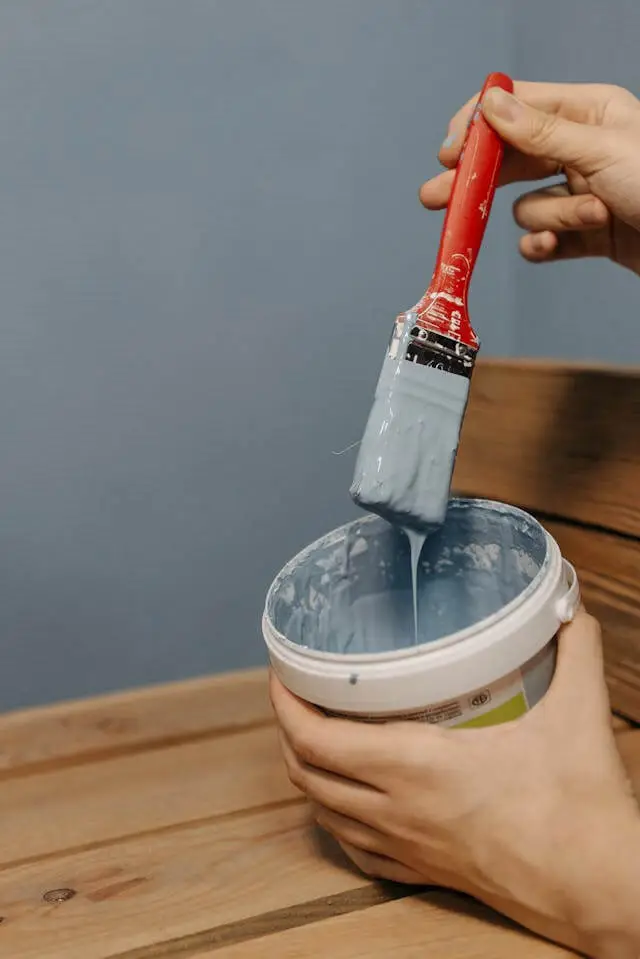
Now that you have selected the perfect sealant for the kitchen cabinet, It is time to start sealing your kitchen cabinets. Use a premium soft-bristle brush or foam applicator to apply the sealant using long, uniform strokes. To prevent drips and stains Try not to overload the brush or roller.
Furthermore, When applying the sealant to your kitchen cabinets do not rush Separating the cabinet sections into manageable sections, Work on one section of the cabinets at a time.
Step5- Let the sealant dry thoroughly:
Before applying the next layer of sealant, first, let the first layer be completely dry. The drying time of every sealant differs. Observe the maker’s guidelines for the intervals within coats of the drying process.
Step6- Sand the surfaces again:

Use fine-grit sandpaper to lightly resand the surface after the initial coat has dried out. This assists in getting rid of any air bubbles or uneven spots and gets the outer layer ready for the subsequent coat.
Additionally, use a tack cloth to clean the cabinets after sanding to get rid of any remaining dust.
Step7- Apply another coat of sealant :
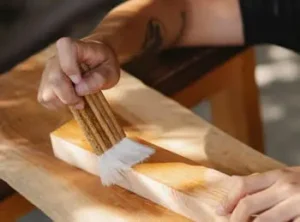
For proper and long-term protection apply another coat of sealant( depending on the kind of your sealant). Use a minimum of two to three coats of sealant for maximum protection. Every extra coat expands the finish’s longevity and improves its protective layer. Make sure that the previous coat is completely dried before applying the next one.
Step8- Examine and Ensure proper ventilation:
To avoid fume accumulation during the sealing process, make sure there is adequate ventilation. To encourage air circulation, open windows and turn on fans.
Furthermore, Examine the cabinets for any scratches or areas that were missed after the final coat has completely dried. If required, give those areas a light sanding and an additional layer of coating.
By following this step-by-step guide you will protect your cabinets from everyday damage, humidity, and dirt.
Finishing Touches for Professional Results
When it comes to the final touches, accuracy is essential for achieving expert results when sealing kitchen cabinets. To get a professional finish it is essential to consider adding decorative materials to painting your kitchen cabinets. These small actions enhance the overall look of your cabinets and give them a professional look.
Also, to safeguard the interior from any damage consider lining shelves and drawers and also use additional sealant to fully cover any exposed edges and corners.
Choosing a sealant made especially for interior surfaces, such as kitchen cabinetry, will ensure that your painted surface is both visually appealing and protected, giving you the best results with the least amount of work.

FAQs:
- Do kitchen cabinets need to be sealed?
| Yes, kitchen cabinets need to be sealed because it is the best source of protection from dirt, scratches, and moisture. A clear coat enhances the appearance of the cabinetry making your space brighter and pleasant and preventing fading caused by natural light. |
- How do you seal gaps in kitchen cabinets?
| Caulk can be the best option for sealing gaps in the kitchen cabinets. Wood fillers can also be used for larger gaps. To prevent drafts, you can opt for spray foam. |
- Do kitchen cabinets need a primer?
| Yes, a primer is essential for new unpainted kitchen cabinets to create a smooth base. It helps prepare the surface of the wood filling the pores and making it smooth for an even paint. It is also vital to protect the cabinets from moisture and dirt and prevent rust on metal cabinets. |
- What is the best way to protect inside kitchen cabinets?
| The best way to protect the inside of kitchen cabinets is to use a waterproof shelf liner. Lining your cabinets makes a barrier against moisture, scratches, and stains keeping your cabinets clean and protected for a long time. Regularly cleaning and maintaining the cabinets is also necessary for long-term protection. |
- How to seal the inside of kitchen cabinets?
To seal the inside of kitchen cabinets,
|
Conclusions:
To sum it up, How to seal kitchen cabinets. Sealing your kitchen cabinets is an important step in making and maintaining the overall look and durability of your kitchen cabinets.
Sealing your kitchen cabinets is not challenging if you are familiar with the right steps and strategies. The guide to proper steps for sealing your kitchen cabinets is discussed above in the article.
By following this step-by-step guide and using the right supplies, you can prolong the longevity of your kitchen cabinets and give them an enhanced look and your kitchen cabinets withstand the demands of regular kitchen use.

