How to Varnish Kitchen Cabinets
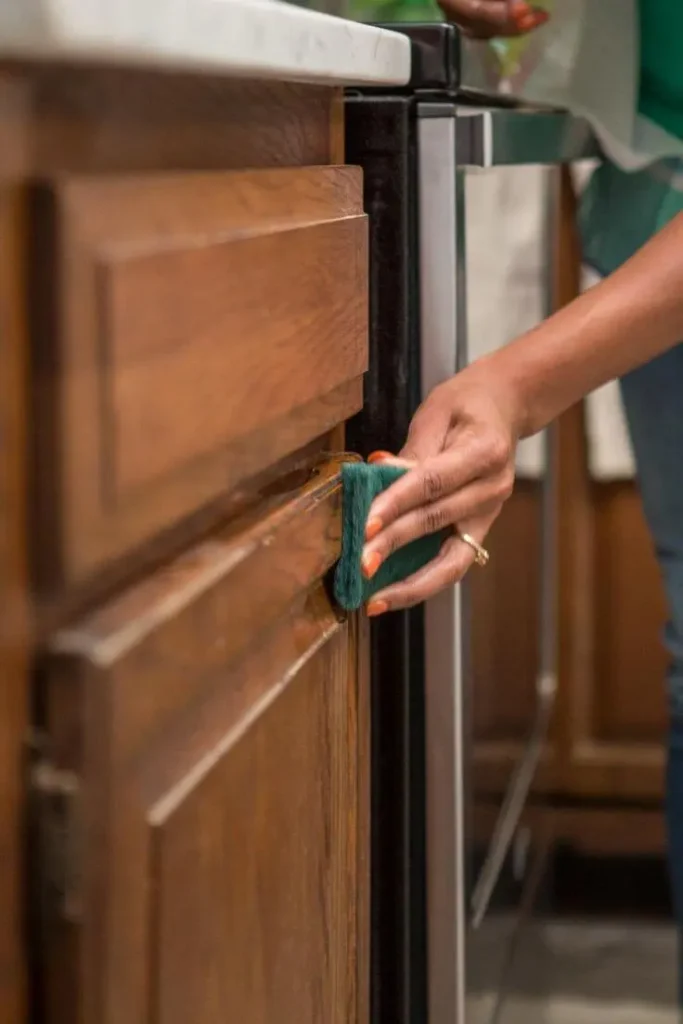
Do your kitchen cabinets seem worn out and dirty? If yes then this is the time to give them a new and sparkly look just by applying one varnish on them. Varnishing your kitchen cabinets not only enhances the cabinet’s overall look but also protects their wood from damage. So, the question that you are wondering is How to varnish kitchen cabinets and we have come up with a solution.
Varnishing your kitchen cabinets is not a big deal. You just need to understand some strategies while varnishing and choose the appropriate methods and materials to produce a perfect finish.
Thus, read this guide through to the end to learn about the different types of kitchen cabinet varnish, common maintenance tips when varnishing kitchen cabinets, and a step-by-step process for applying kitchen cabinet varnish.
So, without a delay let’s dive into the varnishing world and discover How to varnish for kitchen cabinets.
How to varnish kitchen cabinets:
The kitchen is a main part of your house and the kitchen cabinets enhance its overall look. Varnishing your cabinets means giving them a new protective layer. Thus, varnishing your kitchen cabinets is essential if you want to give your kitchen a new look.
Fortunately, there are some things you can do to successfully varnish your kitchen cabinets. But before going straight towards the steps to varnish kitchen cabinets, let’s first have a look at common different types of varnishes for your kitchen cabinet.
Also read: How to Replace the Bottom of a Kitchen Cabinet
Types of varnishes for kitchen cabinets:
Kitchen cabinet varnishes come in a wide variety of types. It’s essential to take into account the different types of varnish that are available when selecting one for your kitchen cabinets, as each has distinct features and qualities. Here are some common types of varnishes available:
- Oil-based Varnish:
- Water-based Varnish:
- Polyurethane Varnish:
- Lacquer
Oil-based Varnish:
Oil-based varnish is among the most widely used varieties of varnish. Its water-resistant qualities and durability come from a combination of oil and resin. For furniture used outdoors or any other wood that is subjected to the weather, oil-based varnish is perfect.
Nevertheless, it can be difficult to apply evenly and eventually turn yellow. It goes deep into the grain of the wood, Ensuring an effective cover and safeguarding the wood from the inside. Additionally, it highlights the original wood giving your cabinets a glossy and elegant look.
Water-based Varnish:
Water-based Varnish is yet another well-liked choice, prepared from a blend of water and resin. It is not as resilient or water-resistant as oil-based varnish, but it dries more quickly and does not turn yellow. It is an ideal choice for your indoor furniture and best for your kitchen where a non-yellowing, transparent finish is needed.
Polyurethane Varnish:
Polyurethane varnish is a chemical-based varnish that covers the surface of the wood to create a tough, protective layer and makes durability possible. It is quick to dry, doesn’t yellow, and guards against damage and humidity. But compared to other varnish kinds, polyurethane varnish is cost-effective.
Lacquer:
Lacquer is a quickly getting-dried varnish created by dissolving the resin in a solvent that is most frequently acrylic or nitrocellulose. It dries quickly and gives the wood a glossy, smooth finish that improves its appearance. Lacquer Varnish is an ideal choice for the kitchen and provides good resistance against heat, moisture, and scratches.
When selecting any type of varnish for your kitchen cabinets first consider your preferences and needs that will determine which type of varnish is best for your kitchen cabinets.
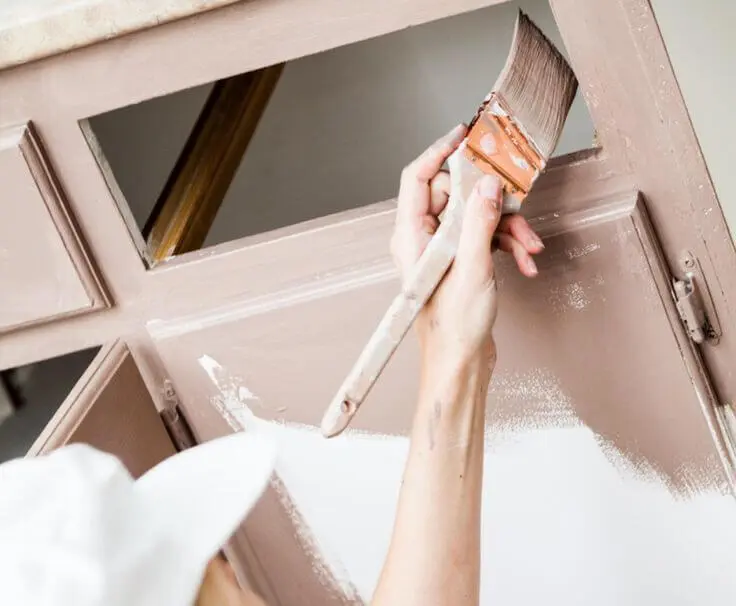
A Step-by-Step Guide on How to Varnish Kitchen Cabinets:
After knowing about the common types of varnishes, let’s move a step closer to understanding How to varnish kitchen cabinets by knowing about this step-by-step detailed guide you can enhance the aesthetics of your kitchen.
Varnishing your kitchen cabinets can completely transform your kitchen by giving your cabinets a new, updated look and shielding the wood from normal wear and tear. By following the step-by-step guide discussed below and with patience you can achieve professional varnishing results that improve the appearance and usefulness of your kitchen.
Before going to the procedure let’s have a look at the materials that you need for varnishing your kitchen cabinets.
Materials to varnish your kitchen cabinets:
Using the proper materials is crucial to achieve successful results. You can properly varnish or paint your kitchen cabinets if you have the right tools and equipment: Here is the list of materials required:
|
Material needed |
|
Step 1- Start Varnishing Kitchen Cabinets:
After knowing about the equipment you need in the varnishing process of kitchen cabinets, let’s move toward How to varnish kitchen cabinets. Varnishing your kitchen cabinets is a hectic and challenging task but here is the step-by-step procedure that will assist you.
Step 2- Clear the Cabinet Area You Want to Varbnish:
Varnishing your kitchen cabinets requires a step-by-step procedure to follow. Thus moving directly towards applying varnish, first clear the area where you are doing this task. Take everything out of the cabinets, and to prevent spills and drips, cover the area with paper or drop cloths. To have the best result remove all the hardware components like organizers, doors, and any hardware such as hinges or knobs of your cabinets with the help of a screwdriver.
Step 3- Clean the Cabinets from Dirt:
To get rid of dirt, grease, and dust, give the cabinets a quick wipe-down with a moist cloth. Cleaning the cabinets before varnish is essential for better results as stains and oil do not let varnish or paint go deep down the surface. Make sure they are totally dry before moving further for the sake of durability. Cleaning your cabinets before applying varnish is also vital to have a glossy and enhanced look.
Step 4- Sand the Cabinets Before Varnish:
Sand the surfaces of your kitchen cabinets with 110-grit sandpaper to smooth the wood, get rid of any remaining finish, and improve the stickiness of the varnish. To avoid scratches, always sand against the grain of the wood.
Additionally, for a more polished appearance, sand the surfaces again with 220-grit. If any holes or imperfections exist, use wood filler to fill them in, and after it dries, sand the area smooth.
Step 5- Apply Varnish:
Select the right type of varnish that suits your cabinets. You can go with lacquer, polyurethane, oil-based, or water-based varnish, depending on what you need. To mix the varnish without causing bubbles, gently stir it with a stir stick.
With the help of a brush or foam Apply the first coat under the direction of the wood grain, and apply an even, thin coat of varnish to the frameworks, drawers, and cabinet doors. Avoid spills and overflows in the area.
Step 6- Let it dry properly:
After applying the first coat of varnish let it dry as directed by manufacturers allow the first coat to dry completely.
Furthermore, to eliminate any flaws or raised grain, lightly sand the surface using 320-grit sandpaper after it has dried. Use a tack cloth to remove the dust.
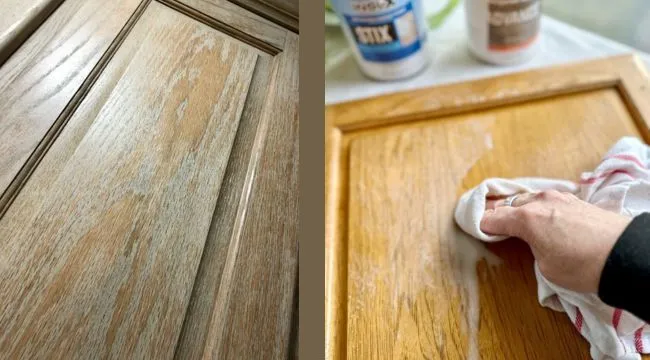
Step 7- Apply another coat:
After the first coat of varnish is dried properly, apply some additional varnish coats as required. For a smooth, long-lasting finish, add two to three more coats of varnish and gently sand in between them.
|
Check the Finish after the Varnish is Done:
Once you are done with the task of varnishing your kitchen cabinets, check the finish of your kitchen cabinets. For this follow the points given below.
- After properly applying varnish and letting the last coat dry. Check the cabinets for any imperfections or areas that were overlooked. Make any necessary adjustments if needed.
- Reattach the doors, drawers, and hardware with the pieces that have been labeled. Make sure the screws are firmly tightened and that everything is properly positioned.
- Furthermore, to have a proper finish, remove painter’s tape with caution and tidy up any leftover dust or debris. If you applied an oil-based varnish, use petroleum jelly to clean brushes and equipment; if you applied a water-based varnish, use soap and water.
- To keep your varnished cabinets looking brand new, clean them regularly with a damp cloth and mild soap. Please refrain from using aggressive cleaners or toxic substances as they can harm the varnish.
By following these steps you can give your kitchen cabinets a polished finish that will improve their look and longevity for many years to come.

Maintenance Tips to Sustain the Lacquer on the Cabinets:
|
Conclusions:
How to varnish for kitchen cabinets is a query of every DIY lover. To cut the long story short we ca say varnishing your kitchen cabinets is a pleasing task that can enhance the overall aesthetic of your kitchen by giving a new look and longevity to your cabinets.
By following the steps listed above in the article and choosing the right type of varnish for your cabinet’s woods, you can successfully achieve a polished finish that protects your kitchen cabinets and also enhances the appearance of your kitchen.
Now after knowing the step-by-step procedure for varnishing your kitchen cabinets, and with patience and understanding, you can achieve flawlessly coated cabinets that are aesthetically pleasing and functioning.
Also read: How to Mouse-Proof Kitchen Cabinets

Pingback: How to Manage Corner Cabinets in the Kitchen - HowiPedia
Pingback: How to Remove a Child-Proof Lock on a Kitchen Cabinet - HowiPedia
Pingback: How to Remove Lacquer from Kitchen Cabinets - HowiPedia
Pingback: Efeective Techniques to seal Kitchen Cabinets - HowiPedia